~2 min 🕗
How to Check Moles at Home: A Step-by-Step Guide with Jeskin Lens
Aug 14, 2025
Introduction
Checking your moles at home is a powerful habit — but without the right tools, it’s easy to miss early warning signs. Jeskin Lens turns your smartphone into a professional dermatoscope, giving you a clear, magnified, and polarized view of your skin. In this guide, you’ll learn how to perform a skin self-check and why Jeskin Lens is your best ally for accuracy and peace of mind.
Step 1 — Prepare Your Space
Choose a well-lit room and have a full-length mirror plus a hand mirror ready. Good lighting helps, but Jeskin Lens ensures clarity even in less-than-perfect light thanks to its built-in polarized illumination.
Step 2 — Learn the ABCDE Rule
Dermatologists use the ABCDE method to identify suspicious moles:
A — Asymmetry: One half doesn’t match the other.
B — Border: Irregular or fuzzy edges.
C — Color: Uneven shades or multiple colors.
D — Diameter: Larger than 6 mm.
E — Evolving: Any change over time.
With the naked eye, some of these signs can be hard to spot. Jeskin Lens reveals fine details, making ABCDE checks far more reliable.
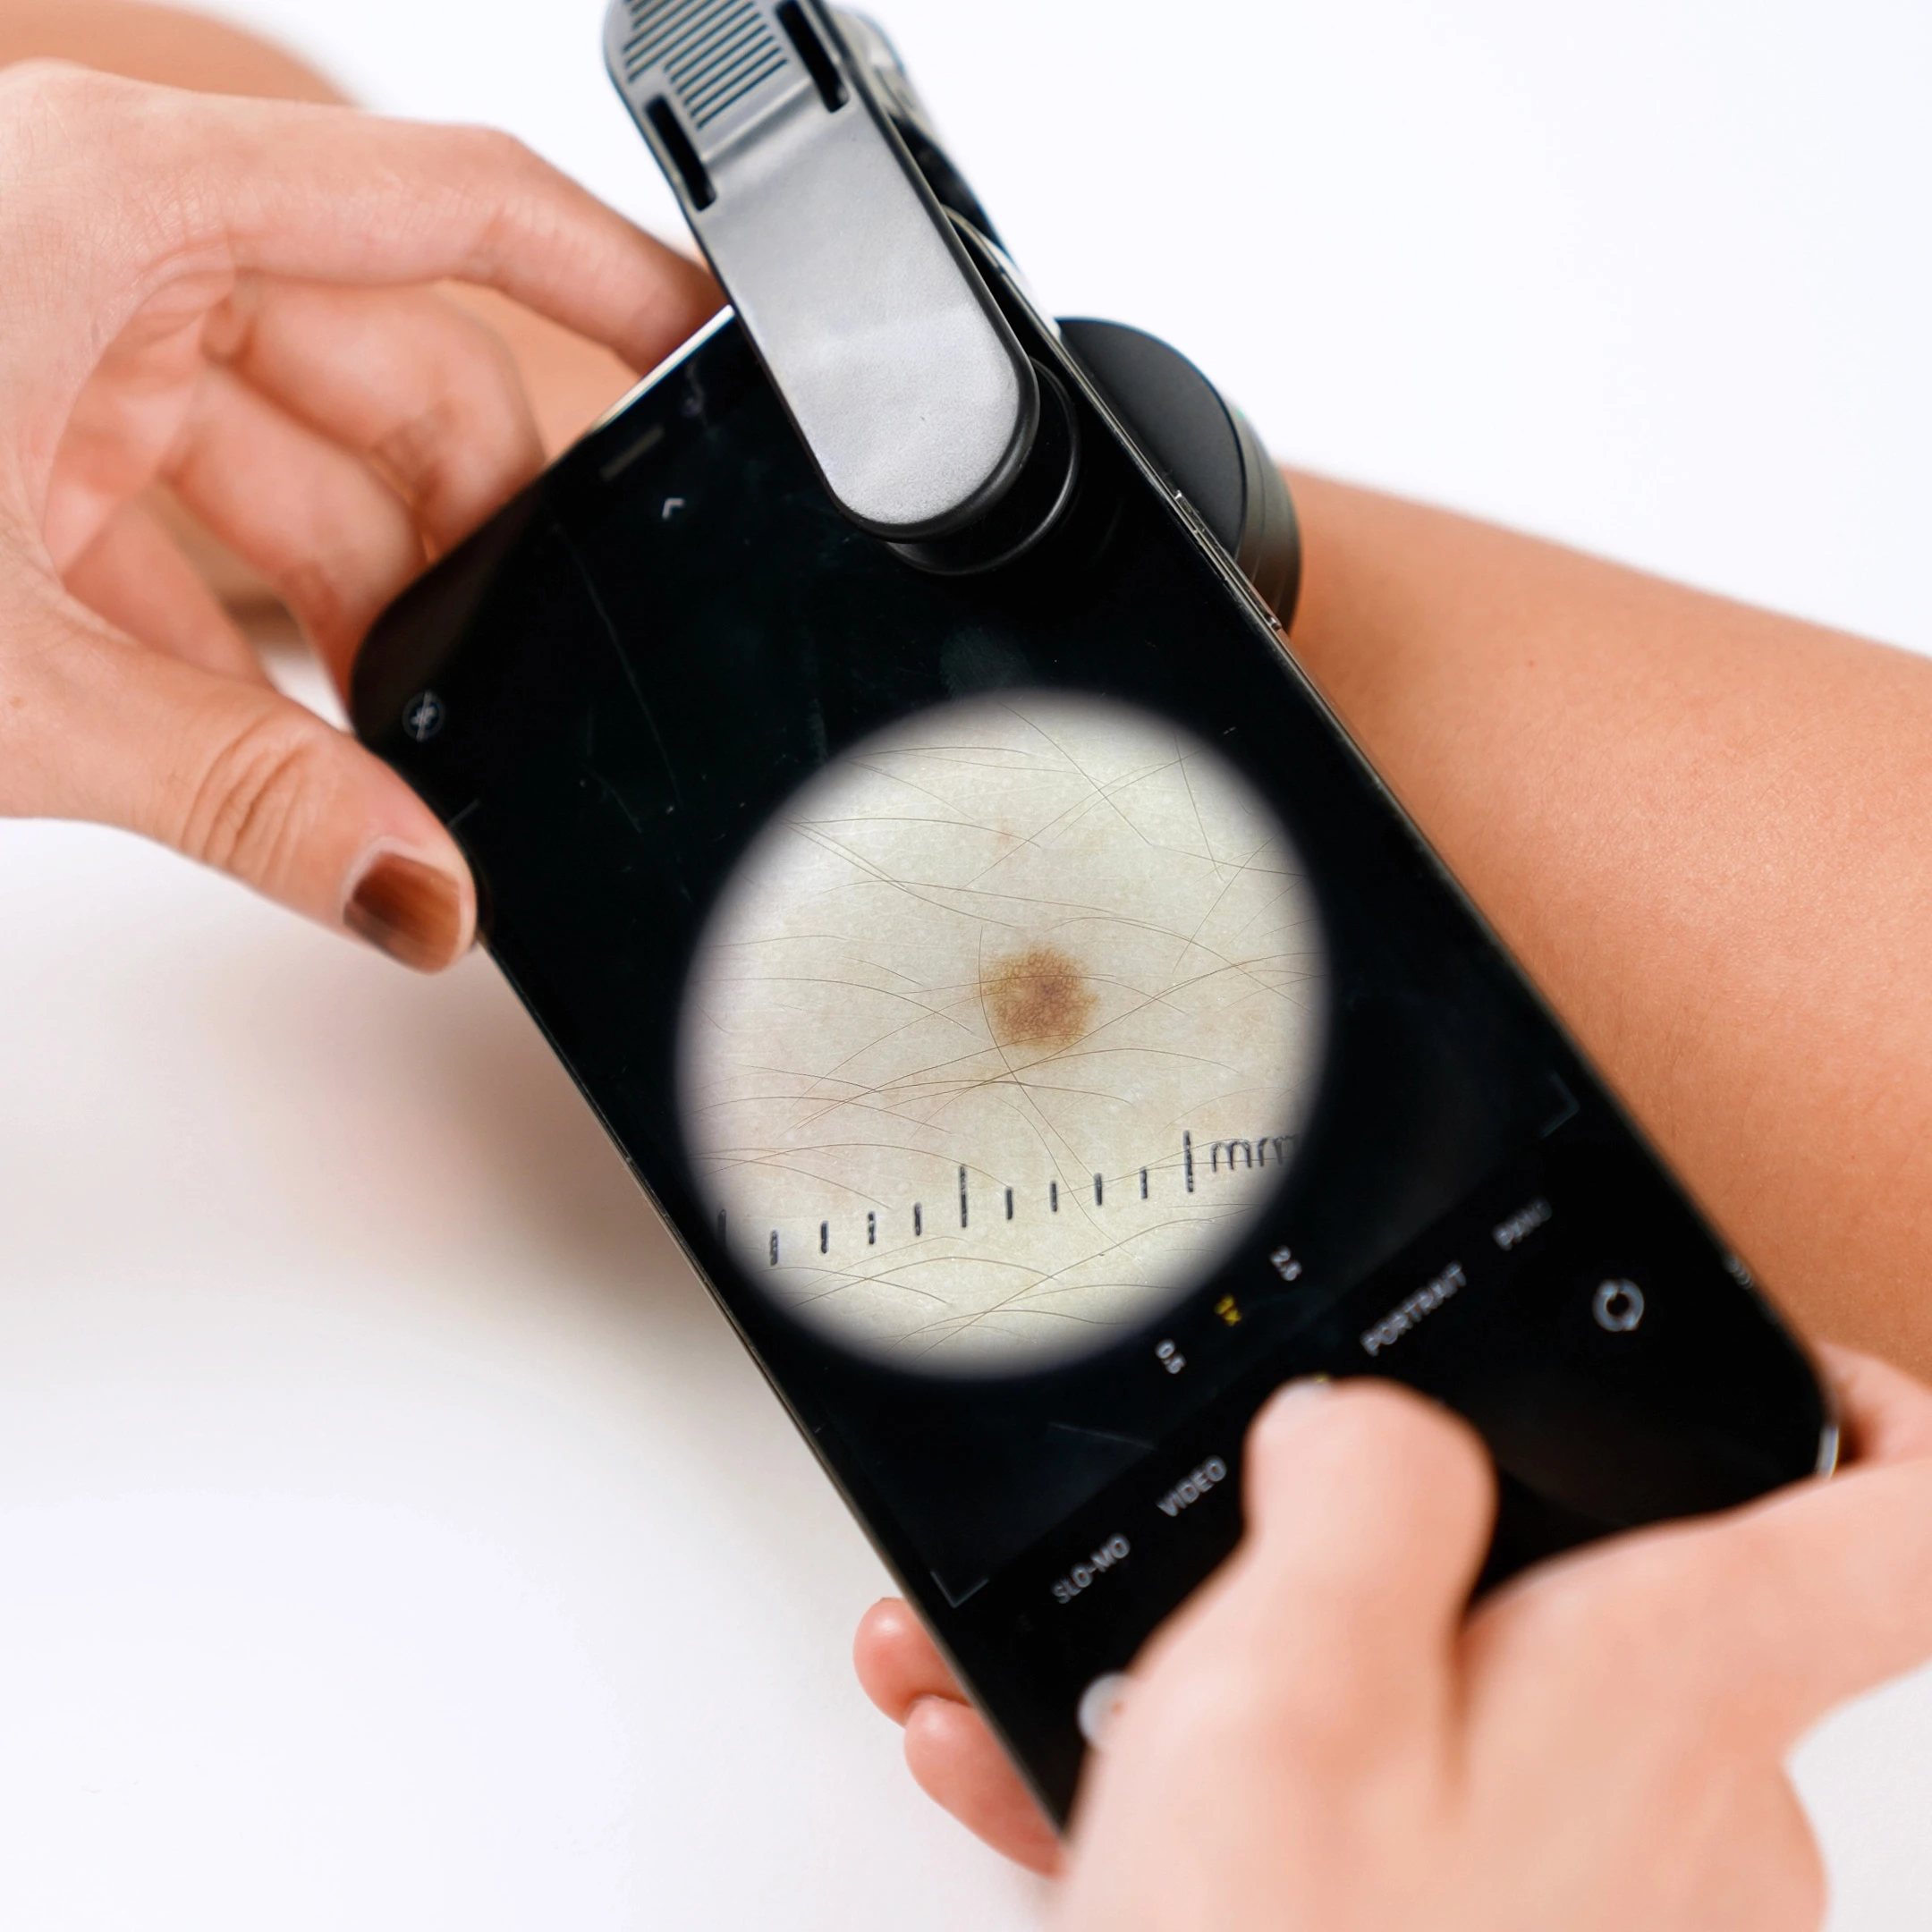
Step 3 — Capture Professional-Grade Images
Attach Jeskin Lens to your phone and take dermatoscopic photos of each mole you want to track. The polarized light reduces skin glare, while the optical magnification shows structures invisible in normal photos. These images can be reviewed by dermatologists remotely — no clinic visit required.
Step 4 — Check Every Area
Suspicious moles can appear anywhere — even in hidden spots: scalp, under nails, between toes, behind ears, or on your back. With Jeskin Lens, you can photograph hard-to-reach areas clearly, then zoom in later or send them for expert review.
Step 5 — Track Over Time with Jeskin App
Changes are often more important than a mole’s current appearance. The Jeskin App stores all your images, lets you compare them side-by-side over months or years, and automatically organizes them for easy reference.
Step 6 — Get a Professional Opinion Quickly
If you notice any suspicious change, send Jeskin Lens images directly to a dermatologist through the Jeskin App. Clear, magnified images mean faster and more accurate remote assessments.
Conclusion
Self-checks are valuable. Self-checks with Jeskin Lens are powerful. You’ll see more, track better, and detect earlier — giving you the best chance for peace of mind and early intervention.
Order Jeskin Lens today and take your first professional-quality skin check at home.